

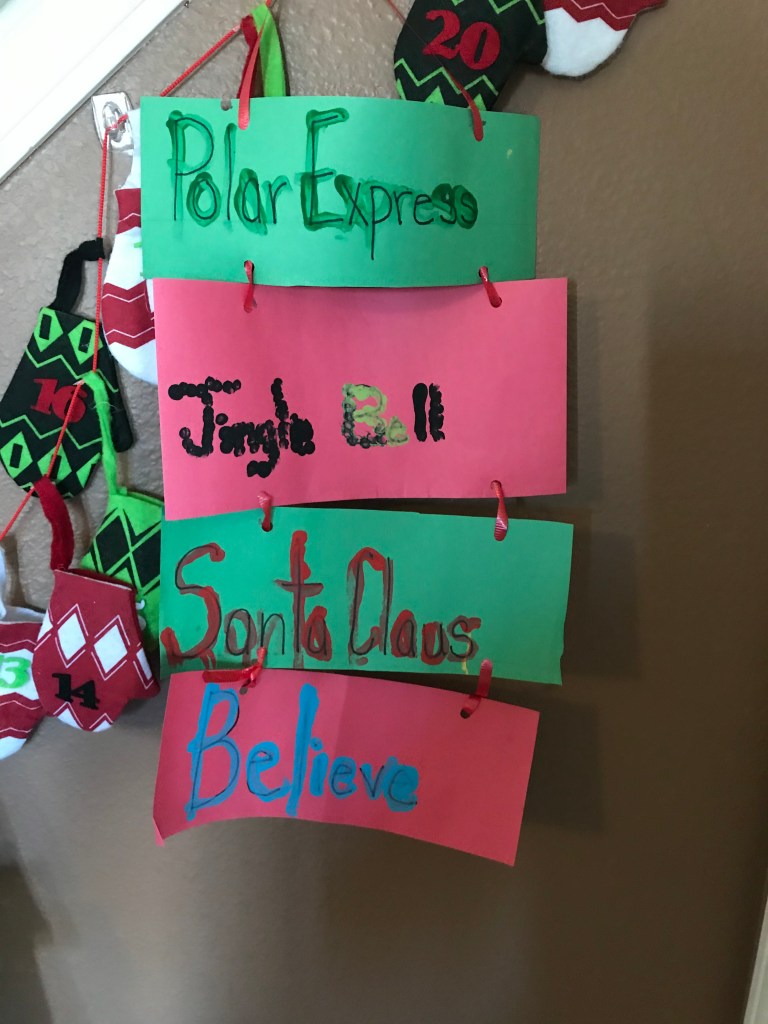
We are currently in quarenteen, awaiting results from tests and my sweet boy needed something to do. He is super smart but struggles with fine motor skills and writing, so together we came up with this fun craft that really works those pincher fingers. We had spent the morning reading “The Polar Express” and discussing the book so our first attempt at this Christmas ladder reflected that. We had so much fun we made a second ladder about Advent. Here are the steps to make your own Christmas Ladder.
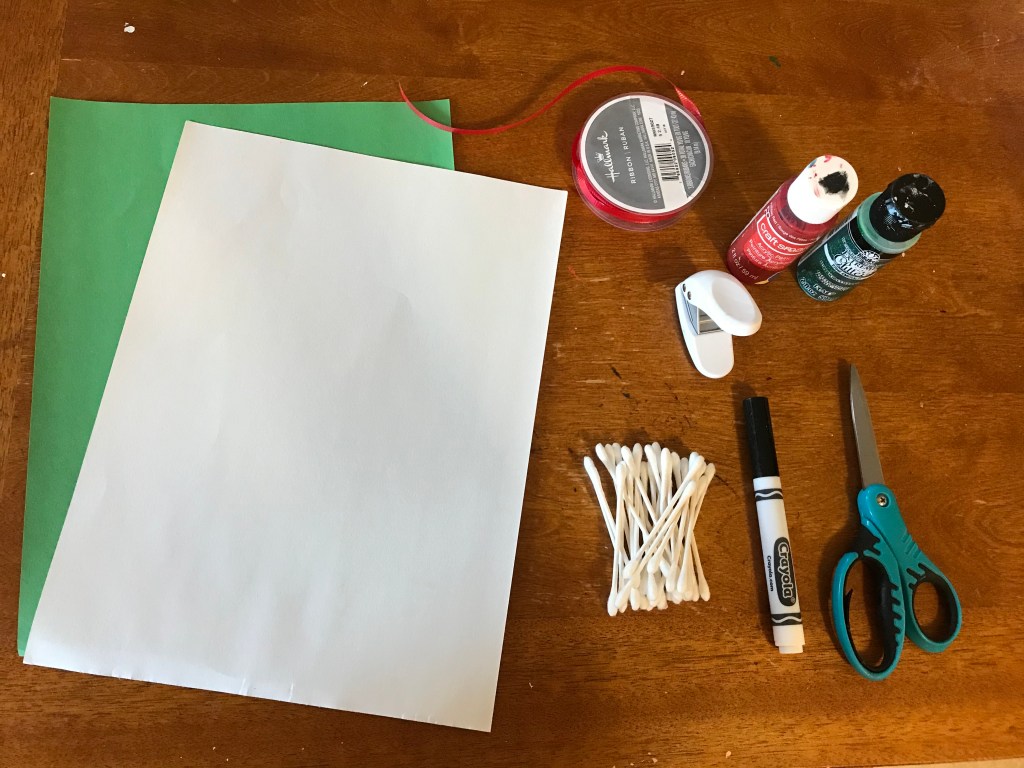
The supplies you need are construction paper, ribbon, a hole puncher, paint, q-tips, marker, scissors and pencil. You may also want paper towels to cover the table and a paper plate to put the paint on.
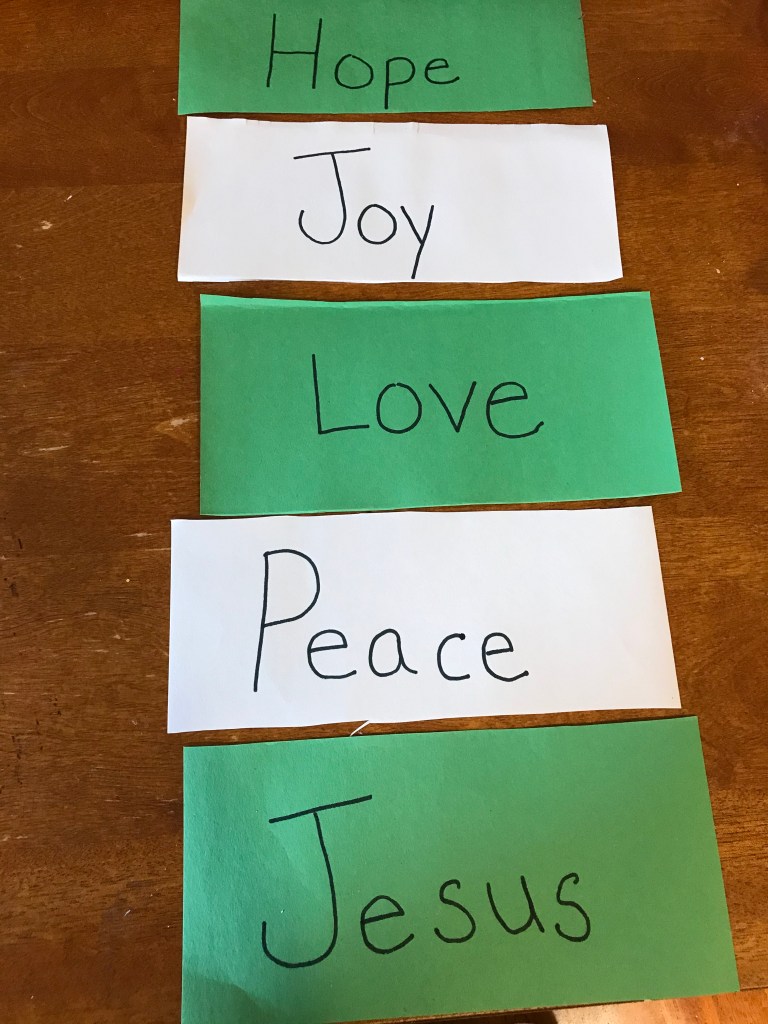
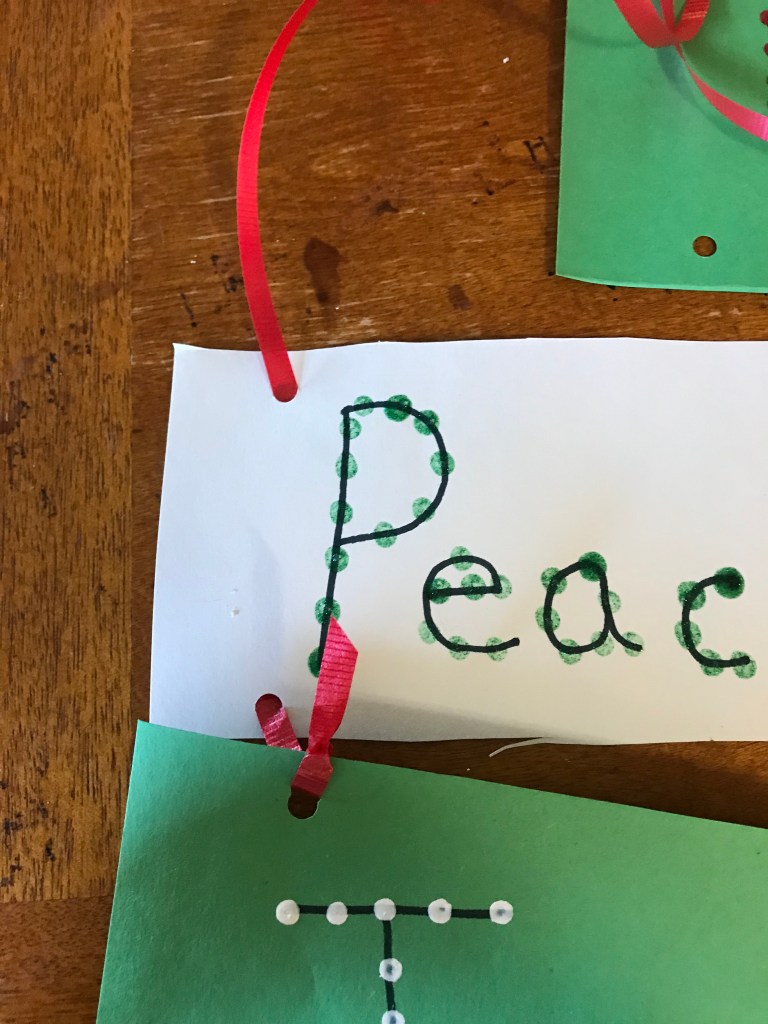
First you will take your construction paper and fold it in thirds. Then cut the paper on the fold. Write your words in black marker on the center of each third. like so.

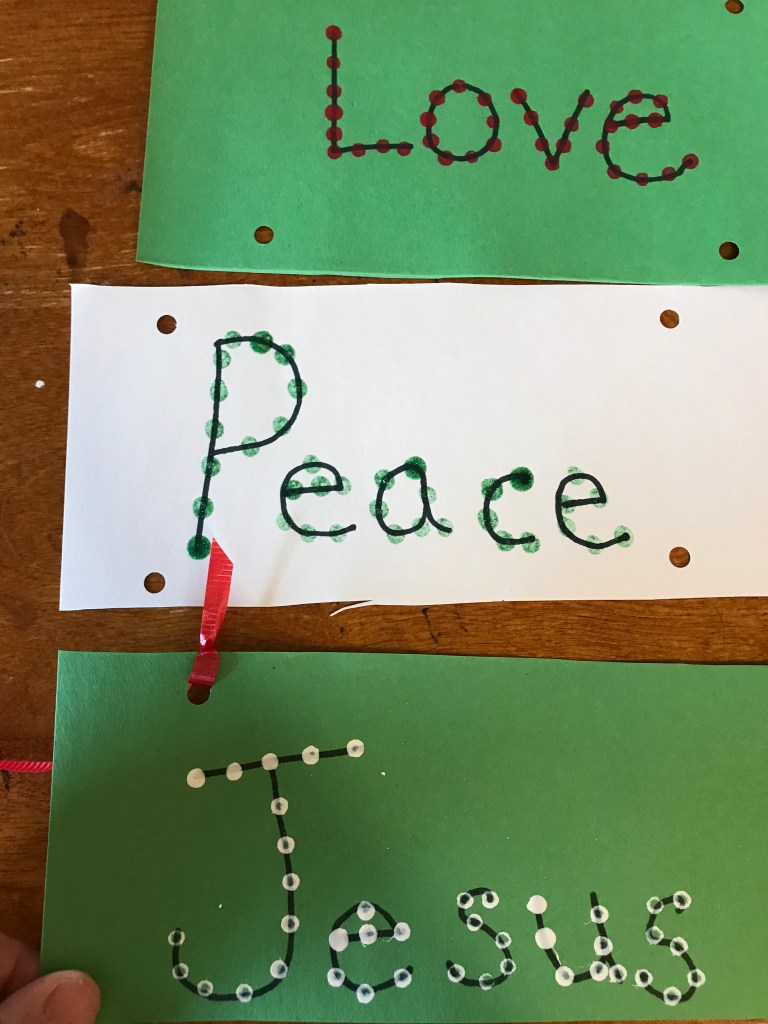
Next have your child pick out what color of paint they would like to use and put a little bit of it on the paper plate. Have your child dab the tip of a Q-tip in the paint. This is there “paint brush.” Have them make dots around all the letters of your words. Then let them dry. We played a game of checkers while we waited for ours to dry. Well we tried, my son is very competitive and likes to make up new rules while he’s playing games so we didn’t actually finish the game. Thankfully the paint dries fast and we were able to move on to the next step. Using the hole punch. My son truly enjoyed this step.
Using the pencil put little dots on the top and bottom of each card except the last one of where you want the hole punch to go. This will help your child line up the hole punch when using it. On the last card only put dots on the top of the card, not the bottom. With adult supervision have your child put a hole punch over where you made your pencil mark. All your cards should have four holes, two on top and two on the bottom except for your last one which will have 2 holes only on top.
Next lay your cards on the table in order. Taking the ribbon loosely measure how much ribbon you will need to go through all the holes leaving a little extra at the top. Cut the ribbon with the tip at an angle. This will help little hands get the ribbon through the holes. Next tie a knot in the upper left hole on the last card. Then have your child take the other side of the ribbon and feed it into the hole of the bottom left hole of the second to the last card from the back to the front. Have the ribbon then go out the top left hole of the second to last card. Attach all the cards together in this fashion on the left side of the ladder until you get to the top card.
When you get to the top card help your child make a little slack going across the top of the card with the ribbon. Starting on the front of the right top hole on the top card feed the ribbon through the top right hole and out the bottom right hole. Continue the pattern till you get to the bottom card. When you get to the bottom card tie a knot in the right top hole. Straighten your cards so their spaced evenly and hang up and display. We put ours by our advent calendar.
.
.
.
